Installing a new bathroom vanity cabinet is a quick and easy way to update your bathroom without breaking the bank. In this guide, we will walk you through how to install bathroom vanity in your home. Whether replacing an old vanity or installing a new one, our guide will show you how to do it quickly and easily.
So gather your supplies, and let’s get started!
Table of Contents
Tools and Materials for Vanity Installation
| Tools | Materials |
|---|---|
| Drill | Vanity cabinet and top |
| Level | Bathroom faucet |
| Hammer | P-trap |
| Screwdriver | Supply tubes |
| Groove-joint pliers | Plumber's putty |
| Crescent wrench | Screws |
| Utility knife | Silicone caulk |
1. Shut off the water
2. Remove the old vanity
The next step is to remove the old vanity cabinet. You will do this by disconnecting the bathroom sink and removing the vanity cabinet. Be sure to remove all of the screws and hardware from the old vanity before discarding it.
Tip: If you are replacing an old vanity with a new one, take measurements of the old vanity so you can purchase a new one that is the same size.
3. Secure the cabinet to the wall
4. Installation of a single-piece new bathroom vanity
If you are installing a single-piece vanity, the next step is to measure and cut the hole for the sink. Be sure to use a level when cutting the hole to ensure that it is straight.
Once the hole has been cut, you can begin installing the vanity. The first step is to apply plumbers putty around the edge of the sink. Then, insert the sink into the hole and press it down. Use a wrench to tighten the bolts that hold the sink in place.
5. Installation of drop-in sinks
If you are installing a drop-in sink, the next step is to measure and cut the hole for the sink.
Be sure to use a level when cutting the gap to ensure it is straight. If you are using a template, it is very important to make sure the hole is cut in the right spot. The sink will not fit correctly if it is not in the correct position.
Once the hole has been cut, you can install the sink. First, apply a layer of silicone sealant around the edge of the sink. Then, set the sink in the hole and press it down firmly. Use a level to make sure it is straight. Finally, tighten the screws that hold the sink in place.
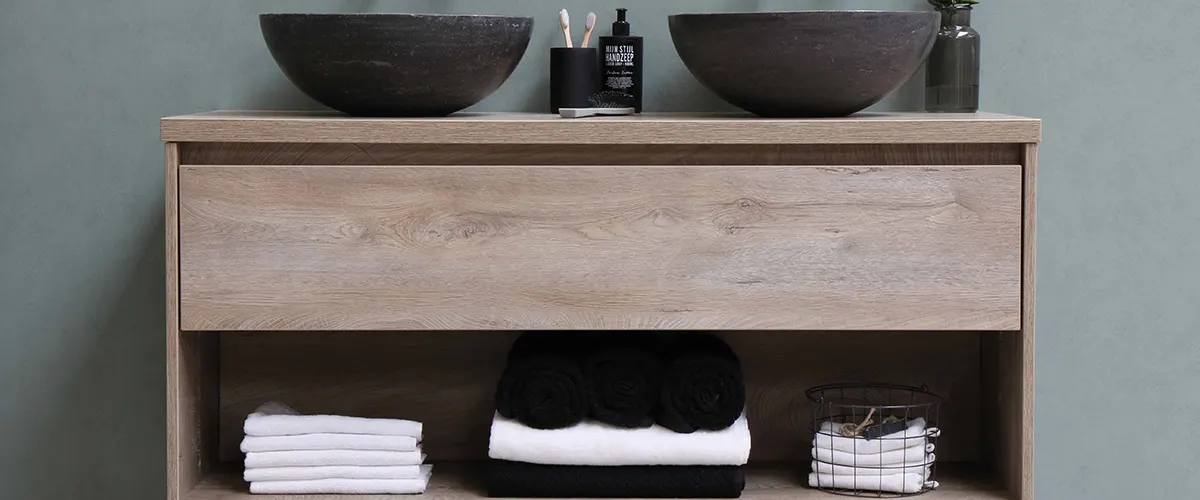
6. Attach vanity top to cabinet
The next step is to attach the vanity top to the cabinet. You will do this by using screws or anchors. If you are using screws, be sure to drill pilot holes first.
Tip: If you are using anchors, it is crucial to ensure they are the correct size for the vanity top.
Once the vanity top is attached, you can install the faucet. Be sure to follow the instructions that come with the faucet.

7. Attach the faucet to the bathroom sink
8. Connect the supply tubes
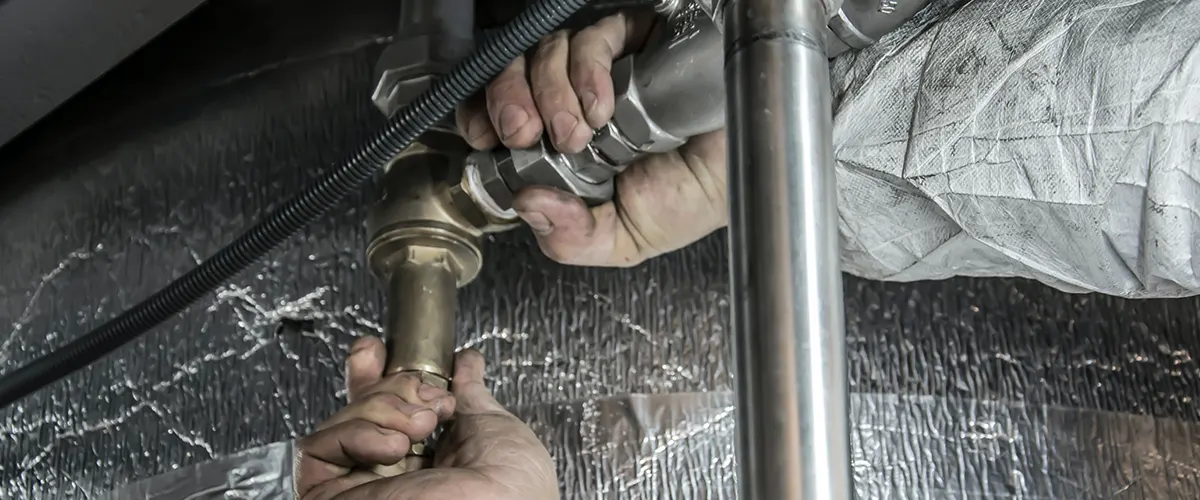
9. Connect the drain line
The final installation step is to connect the drain lines. This tube runs from your sink to the drain on the floor. There are a few different ways to do this, so consult your installation instructions.
To connect the drain line, fit one end of the tube into the hole at the bottom of your sink. If your sink doesn’t have a pre-drilled hole, use a jigsaw to cut one. Then, fit the other end of the tube into the drain on the floor. Make sure it’s tight and sealed well with plumbers’ putty. Finally, screw on the drain cover.
10. Test for leaks
Is the bathroom vanity installation a DIY project?
While it may be possible for some homeowners to install a new bathroom vanity on their own, it’s best to hire a contractor in most cases.
This is because several plumbing connections need to be made, and without the proper knowledge, it’s easy to make a mistake that could cause a leak.
Plus, if you’re not familiar with your plumbing layout, it’s easy to cut a water line or damage a pipe accidentally.
Vanity installation tips from pros
- If you're installing a new vanity, take the time to measure your bathroom first. This will ensure that you select the correct size and avoid surprises when installing.
- You'll need a few basic skills for this project: measuring, marking, drilling, and screwing. Be sure to read the manufacturer's instructions carefully before you begin.
- If your vanity includes a backsplash, you'll need to attach it to the wall with screws. This can be tricky since the space behind the vanity is typically tight. You'll also need to install the sink and faucet before attaching the vanity to the wall.
- Many homeowners choose to install a new vanity themselves. But if you're not comfortable with DIY projects or run into any problems during installation, it's always best to call in a professional.
- At the very least, be sure to have a friend or family member help you out. This will make the installation process go much more smoothly.
Bathroom Vanity Installation FAQs
In most instances, it’s not necessary to use glue to attach a bathroom vanity to the wall.
Properly securing the vanity with screws into wall studs usually provides sufficient stability.
Some vanities might come with adhesive options, but it’s essential to follow the manufacturer’s instructions and prioritize the use of screws for secure attachment.
Conclusion
Installing a bathroom vanity is an easy way to update your bathroom without spending much money. In this guide, we have walked you through the process of installing a new vanity in your bathroom.
For more design ideas, check out NKBA’s website and if you have any questions, please do not hesitate to contact us for assistance. Our professionals will be happy to help you get your bathroom looking its best in no time!