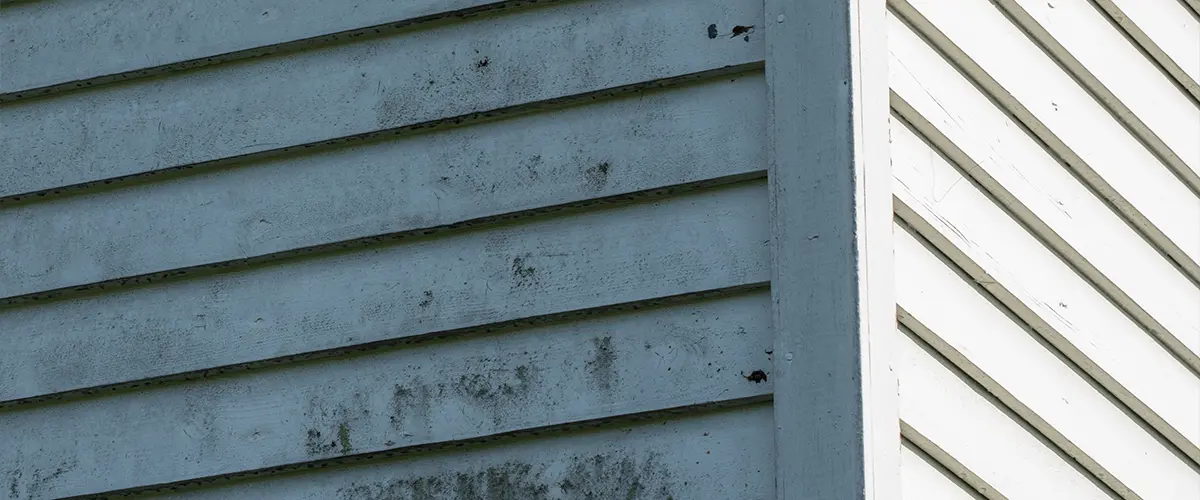
Vinyl siding remains one of the top choices of many homeowners for several reasons. It’s affordable, relatively durable, and has very few maintenance requirements.
But even so, with time, your home’s how to install vinyl siding will start showing wear and tear. Some quick fixes, replacements, and maybe even a new coat of paint can bring your home’s siding back to its former glory.
But is painting vinyl siding that easy? Let’s find out.
Table of Contents
Tools and Materials Needed for Painting Vinyl Siding
| Tools Needed | Materials Needed |
|---|---|
| Pressure Washer | Exterior Vinyl-Safe Paint |
| Scrub Brush | Primer (if recommended by paint manufacturer) |
| Paint Sprayer or Paint Roller with Extension Pole | Mildew Cleaner or Vinegar Solution |
| Paint Brushes (for trim and hard-to-reach areas) | Water and Soap (for cleaning) |
| Drop Cloths or Plastic Sheets | Plastic Sheeting or Masking Paper (for protecting surrounding areas) |
| Painter's Tape | Sandpaper (medium grit) |
| Caulk Gun and Caulk | Patching Compound or Filler (for repairing cracks and holes) |
| Safety Gear | Vinyl-Safe Cleaning Solution |
| Ladder or Scaffolding (if necessary) | Painter's Tape |
| Paint Stirrer | Exterior Caulk (paintable) |
| Paint Tray | Ladder or Scaffolding (if necessary) |
Choosing The Right Type Of Paint
Probably the best type of paint for the advanced vinyl siding for the home is one that’s 100% acrylic, like Benjamin Moore’s Revive, which has more color options to pick from. Acrylic and urethane resins are great vinyl paints, too.
If your paint is safe for vinyl, you may choose to use darker colors as a final coat. However, remember that dark shades absorb more heat from the sun and can cause warping of vinyl siding due to excessive heat build-up. Opt for lighter tones when painting on vinyl surfaces to avoid this problem.
Applying two coats of paint gives you superior coverage and durability, meaning fewer trips to the store for extra supplies and less time spent painting your house in the future.
Step 1: Gather Your Supplies
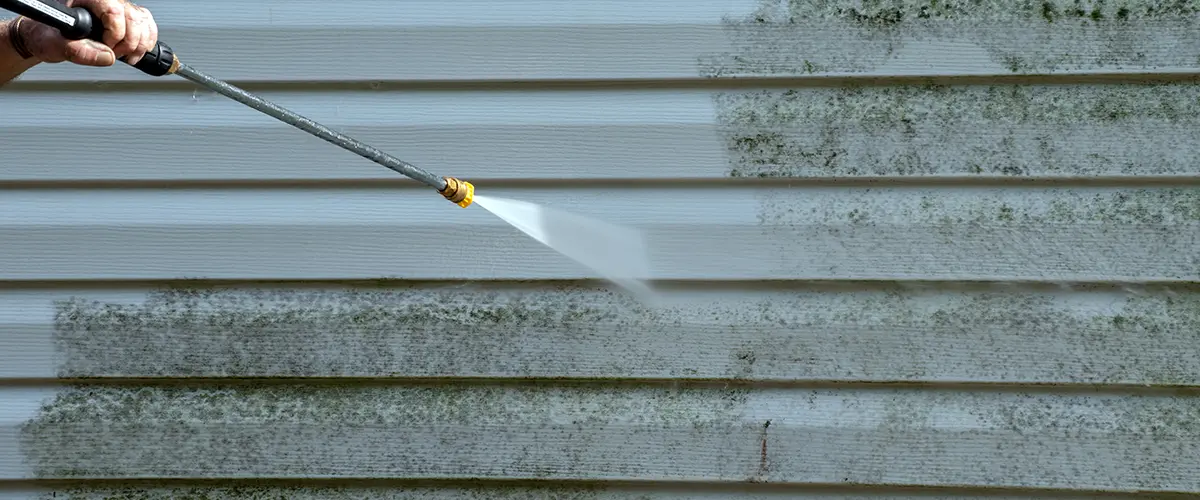
Step 2: Clean the Vinyl Siding
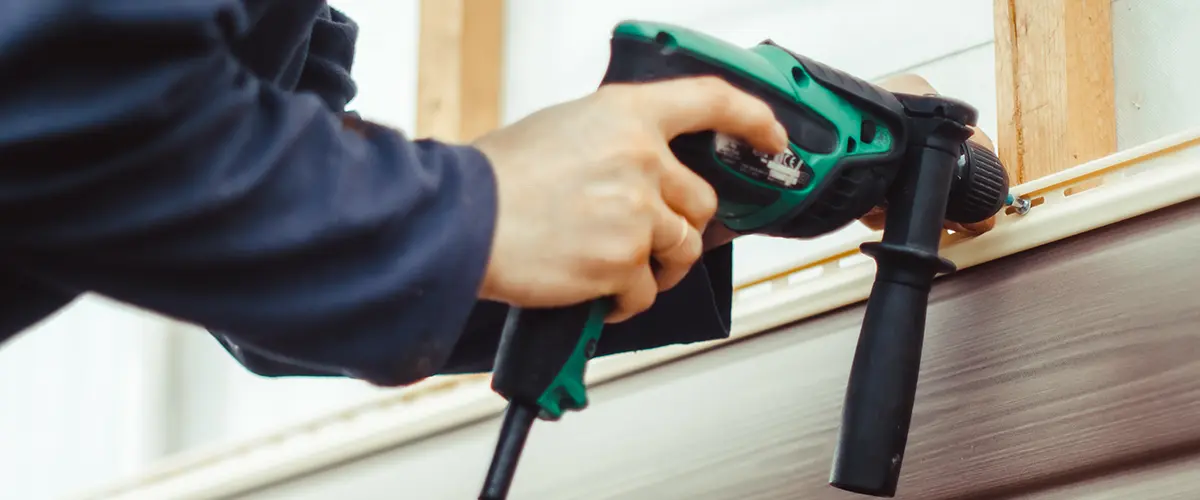
Step 3: Inspect and Repair
Step 4: Protect Surrounding Areas
Step 5: Apply Primer (if needed)
Step 6: Apply Paint

Step 7: Work in Sections
Step 8: Apply Multiple Coats
Step 9: Paint Trim and Details
Step 10: Allow to Dry
Step 11: Inspect and Touch Up
Step 12: Clean Up
Painting Vinyl Siding On Your Own
If you have experience with this kind of project, painting your home’s vinyl siding alone may not feel like a hassle – until you start.
This is not to say you can’t possibly do it on your own, but that it does take a lot of time and effort. And if you have to climb ladders and risk your life, doing this by yourself may not be the best option out there.
Professionals have the tools and equipment to make this project much easier. Us, for example, we’ve been doing this since our very first day, and we know the ins and outs like the back of our hand.
If you want to skip all the stress and hassle, get in touch with us! But if you feel like giving this project a shot, here are the steps to do it properly.
Primer For Painting Vinyl Siding
You can’t skip the primer no matter what. You need them to ensure the vinyl siding paint is applied correctly and that it’ll last for as long as it’s supposed to.
Bonding primers are your go-to choice when painting vinyl siding — they not only work on both interior and exterior surfaces but also provide an outstanding hold. Here are my top three picks from this range of bonding primers:
Painting Vinyl Siding FAQ
There are a couple of reasons why this might happen. The most common one is because of the expansion and contraction of the vinyl that’s more than the paint can handle. This causes the bond to loosen and the paint to fail. Another common reason is that the surface might’ve been dirty.
You can paint vinyl in any color, but a dark color will only make things worse. Dark colors on vinyl can absorb too much heat causing the paint to peel and/or the vinyl to warp. You’re much better off painting the vinyl siding of your home in a light color.
Conclusion
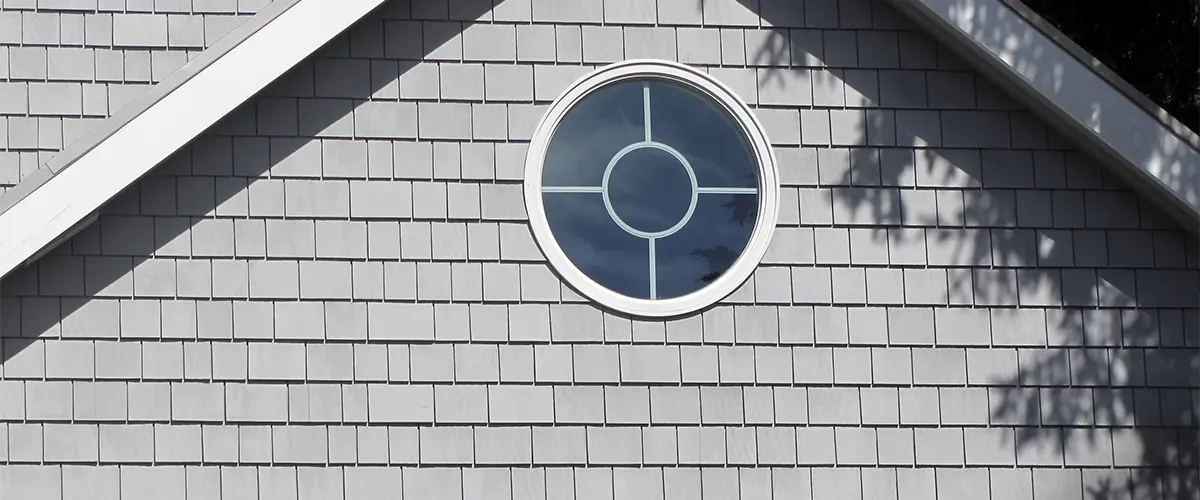
Painting vinyl siding is a great way to enhance your property and make it look better. It increases the overall value of your home and gives you a great sense of pride when your neighbors notice the new look of your home.
But painting the entire home by yourself is difficult, time-consuming, and even risky. Of course, it’s not impossible, and if you’ve done this kind of project before, you should be perfectly fine. But even so, having someone else do it while you enjoy the ride is much better.
Here at City & Country Contracting, we’ve been painting home sidings from our very beginning. We’re experts in our trade and we love bringing homes here in Langley Township back to their youth.
If you’re interested in a complete siding installation or any home improvement you have in mind, give us a call at (604) 329-8996 or request a free quote!
Related Local Excavating And Landscaping Business