If you’re looking to renovate your kitchen, you’ve come to the right place. In this guide, we’ll walk you through everything you need to know from start to finish. We’ll cover everything from designing your new kitchen to getting the necessary permits and hiring a contractor.
So whether you’re just starting out on your renovation journey, or are already in the thick of things, read on for our complete guide to renovating a kitchen the right way!
Step #1. Choose A Small Or A Major Kitchen Remodel
The first step in planning your kitchen renovation is deciding on the scope of the project. Are you looking for a complete gut job, or are you planning on keeping your existing cabinets and appliances?
If you’re renovating a small kitchen, you may be able to get away with doing a minor update. This could involve painting the walls, replacing the backsplash, or even just switching out the hardware on your cabinets.
On the other hand, if you’re planning a major kitchen renovation, you’ll need to be prepared for a more extensive and expensive project. This could include tearing out walls to create an open concept layout, installing new floors, or adding in new appliances.
At City & Country Contracting, we bring together over 40 years of kitchen renovation experience serving homeowners in Langley, Surrey, Vancouver, Burnaby, Abbotsford, and more of Metro Vancouver. We can’t wait to help you turn your kitchen around!
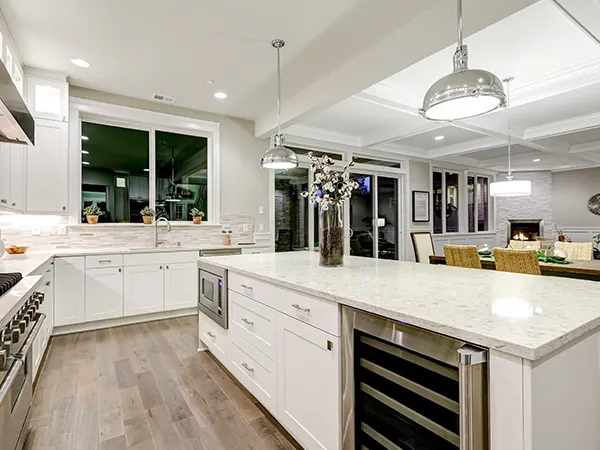
Step #2. Define Your New Kitchen Layout

The first step in any renovation is to design your new space. If you’re not sure where to start, take a look at our kitchen portfolio for inspiration. Once you have an idea of what you want your new kitchen to look like, it’s time to start planning the layout.
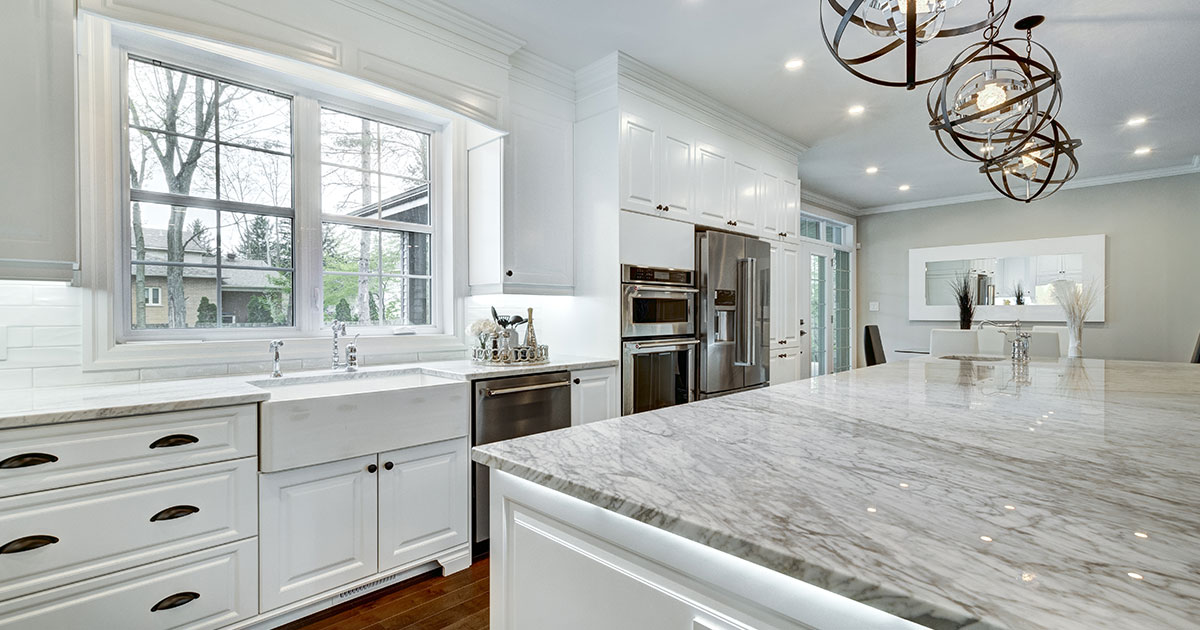
There are a few things to keep in mind when planning your kitchen layout. First, think about the work triangle. This is the distance between the stove, sink, and refrigerator. You’ll want to make sure that this triangle is as efficient as possible to make cooking and cleaning easier.
Another important thing to consider is the placement of your appliances. You’ll want to make sure that your fridge is easily accessible, as well as your oven and dishwasher. If you have a window in your kitchen, you’ll also want to position your sink underneath it for natural light.
Once you have the layout planned out, it’s time to start thinking about cabinets and countertops.
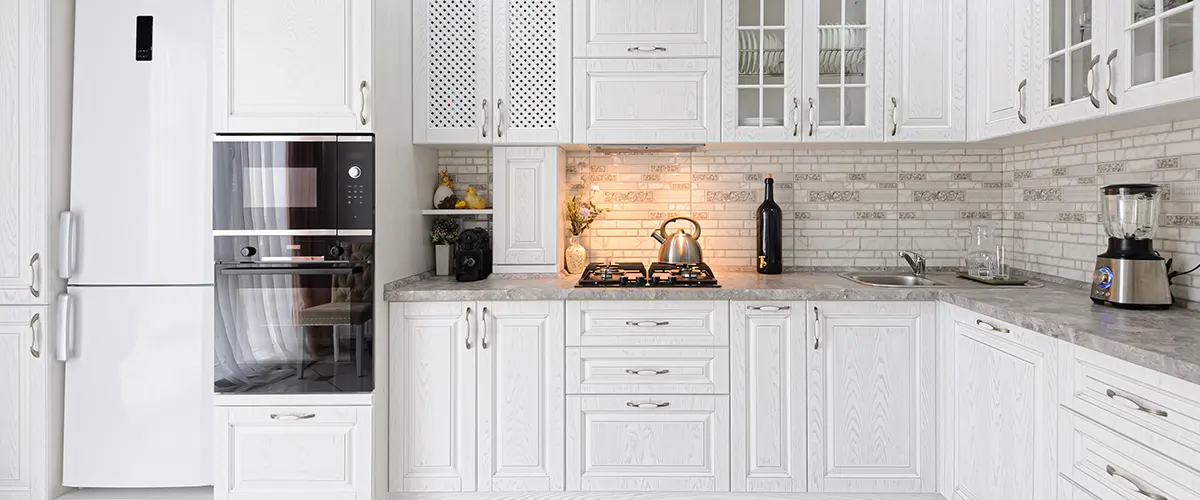
Step #3. Choose Your New Cabinets
Cabinets are one of the most important aspects of any kitchen, so it’s important to choose wisely.
When it comes to choosing your new cabinets, do you want something more accessible like stock cabinets? Or maybe you want to add your personal style to the space with semi-custom or custom cabinets.
Let’s take a look at the different types of cabinets:
#1. Stock Cabinets
#2. Semi-Custom Cabinets
These are more expensive than stock cabinets but offer more style options and sizes, as well as more options for customization and details. This could be a good option if you want cabinets that look good but don’t break the budget.
#3. Custom Cabinets
As the name suggests, custom cabinets are made to order. This means that you have complete control over the style, size, and materials. Custom cabinets are the most expensive option but will give you a truly unique kitchen.
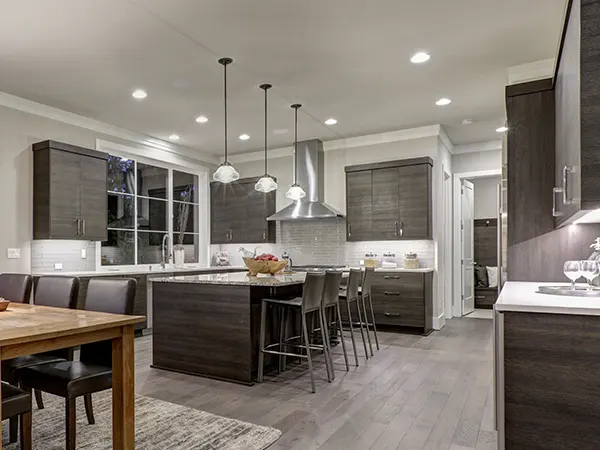
Step #4. Choose Your Countertops

Once you’ve decided on your cabinets, it’s time to move on to countertops. There are a few things to keep in mind when choosing your countertops. First, think about the material.
Do you want something durable like granite or quartz? Or maybe you’re looking for something more unique like marble or soapstone.
Another thing to consider is the color. Do you want a dark countertop to contrast with light cabinets, or a light countertop to brighten up a dark kitchen?
It’s important to consider both the look and function of your countertops when making your decision.
Step #5. Install Your New Cabinets
Now that you’ve chosen your cabinets and countertops, it’s time to install them. Depending on the installation process, there are a few steps involved in the process.
If you’re working with a general contractor, first they’ll remove all of the old cabinets and countertops. This may require some demolition, so they will be sure to wear appropriate safety gear.
Next, they’ll need to measure and mark where your new cabinets will go. Once everything is measured and marked, they can start installing your new cabinets.
Let’s see the types of cabinets depending on the installation process:
#1. Upper cabinets

They are usually installed first, and then the base cabinets are installed. Wall cabinets can be installed next, or they may be installed after the countertops are in place.
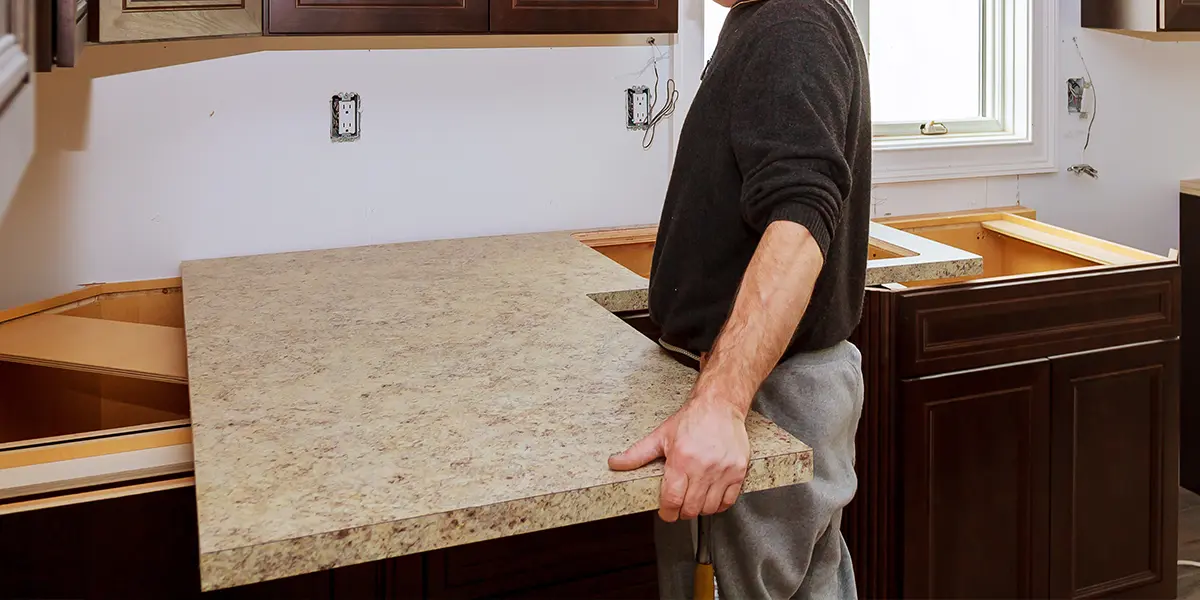
Once the cabinets are all installed, it’s time to install the countertops. This process will vary depending on the material you’ve chosen.
For example, granite countertops need to be cut and fitted on site. The installer will measure the countertops and then cut them to size before installing them.
After the countertops are installed, they will hook up your appliances and plumbing fixtures.
#2. Base cabinets
These cabinets are installed after the upper cabinets. They may be installed before or after the countertops are in place.
When it comes to installation, lower cabinets are a bit more difficult than upper cabinets. This is because they need to be level with each other and with the countertops.
The installer will start by measuring and marking where the cabinets will go. They will then use a level to make sure the cabinets are level with each other.
Once the lower cabinets are installed, they can install the countertops. The process is similar to installing upper cabinets, but the installer will need to be extra careful to make sure the countertops are level.
#3. Countertops
Once the base cabinets are installed, they can install the countertops. The process is similar to installing upper cabinets, but the installer will need to be extra careful to make sure the countertops are level.
After the countertops are installed, they will hook up your appliances and plumbing fixtures.
Step #6. Choose Your Storage Options

There are a few things to consider when choosing your storage.
First, think about what you’ll be storing in your kitchen. Do you need a lot of space for pots and pans? Or maybe you need more space for food storage.
Another thing to consider is the layout of your kitchen. If you have a small kitchen, you might want to choose cabinets that are taller and narrower. This will give you more storage space without taking up too much room.
Let’s look into the types of storage options:
- Pantry - A pantry is a great option if you have a lot of food to store. You can choose a walk-in pantry or one that's built into the kitchen.
- Cookware - If you have a lot of cookware, you might want to consider cabinets that are specifically designed for storing pots and pans. These cabinets usually have deep shelves and doors that swing-out.
- Drawers - A great option for storing smaller items, especially when we're talking about a small space. You can choose drawers that are shallow or deep, depending on your needs.
- Open shelving - A great way to add storage without taking up too much space. You can use open shelving to store cookware, dishes, or even food.
- Hooks and racks - Ideal for adding storage for things like pots and pans, towels, and even coats. You can choose to have hooks that are mounted on the wall or racks that are freestanding.
- Wall cabinetry - They are a great option if you need extra storage space. They can be installed above your countertops or even on the walls.
Step #7. Finish Up Your Kitchen Renovation

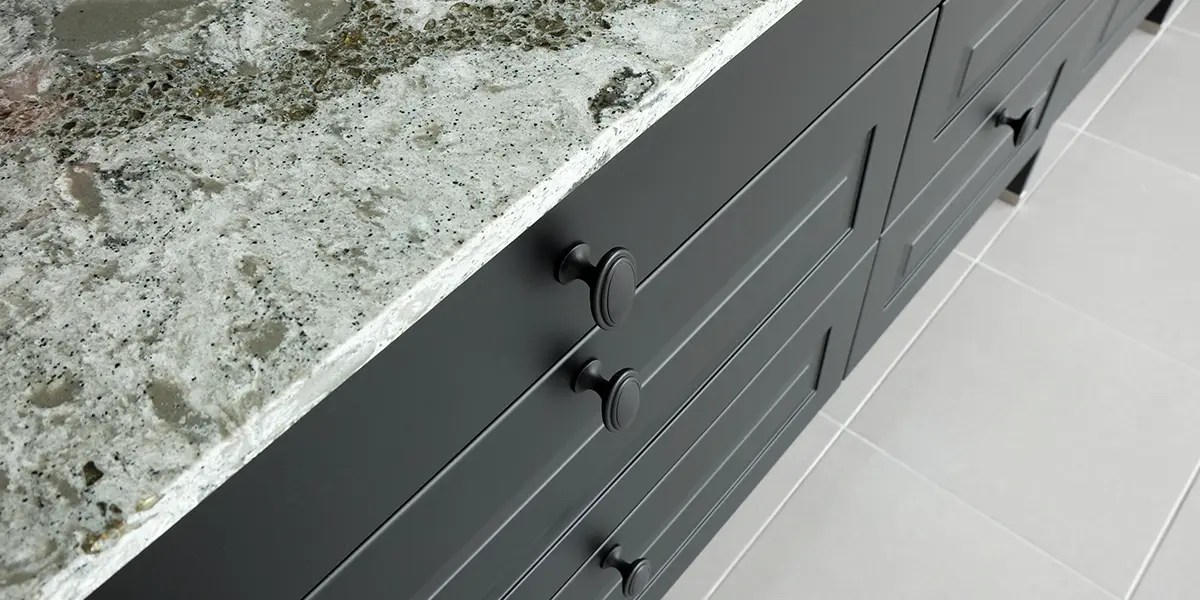
The final step in your kitchen renovation project is to add the finishing touches. This includes things like cabinet hardware, backsplashes, and lighting.
- Cabinet hardware - A great way to add a personal touch to your kitchen. You can choose from a variety of styles, colors, and materials. For example, you can choose knobs and pulls that are made from glass, metal, or even wood. You can also choose to have them in a variety of colors, like black, white, or even copper.
- Backsplashes - A backsplash is a great way to protect your walls from splashes and spills. It's also a great way to add color and style to your kitchen. You can choose from a variety of materials, like tile, glass, or even metal.
- Lighting - Adding lighting to your kitchen is a great way to brighten up the space. You have several options to choose from, like pendant lights, recessed lighting, or even track lighting. Take your time when choosing the right fixtures for your kitchen. You want to make sure they fit with the overall style of the space.
- Open shelving - A great way to add storage without taking up too much space. You can use open shelving to store cookware, dishes, or even food.
- Hooks and racks - Ideal for adding storage for things like pots and pans, towels, and even coats. You can choose to have hooks that are mounted on the wall or racks that are freestanding.
- Wall cabinetry - They are a great option if you need extra storage space. They can be installed above your countertops or even on the walls.
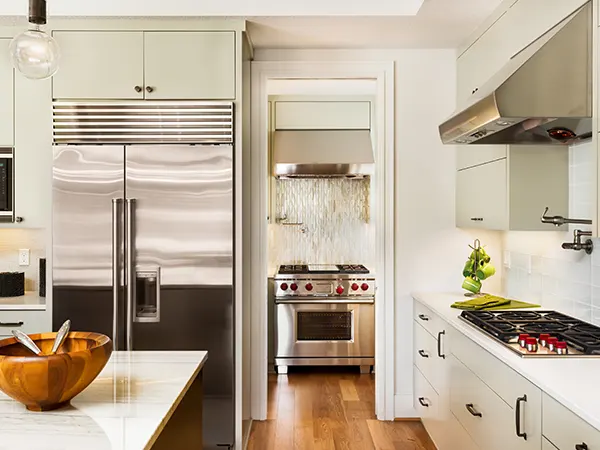
Step #8. Choose Your Appliances
Now that you’ve renovated your kitchen, it’s time to choose your appliances. This is an important step because you want to make sure your appliances fit the space and your needs.
For example, if you have a small kitchen, you might want to choose compact appliances. Or if you love to cook, you might want to invest in high-end appliances.
Whatever you choose, make sure your appliances are energy-efficient. This will help you save money on your utility bills and be better for the environment.

Installing Your Appliances
Once you’ve chosen your appliances, it’s time to install them. This is usually a pretty easy process, but it’s always a good idea to read the instructions before you get started.
If you’re not comfortable installing your appliances, you can always hire a professional. They’ll be able to install them quickly and correctly while providing you with a labor warranty. This way you can relax knowing you can leave your old kitchen behind and enjoy your new one for years.
Conclusion
Renovating a kitchen can be a daunting task, but with our complete guide, you’ll be able to renovate your kitchen the right way. Follow these steps and you’ll be sure to end up with a beautiful, new kitchen.
If you’re looking for a professional kitchen remodeler or need advice with your new kitchen remodel, just reach out to us. We’ll be more than happy to help you plan it out.